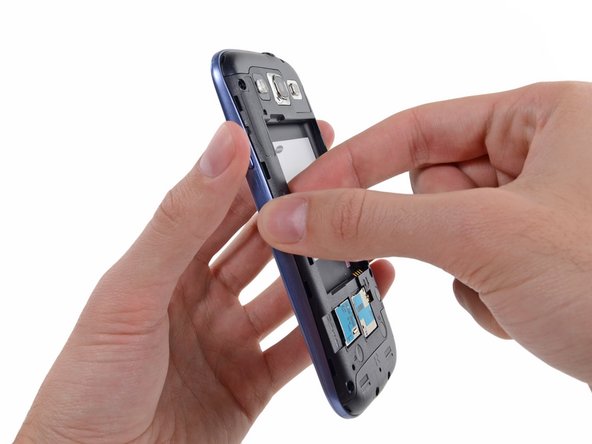
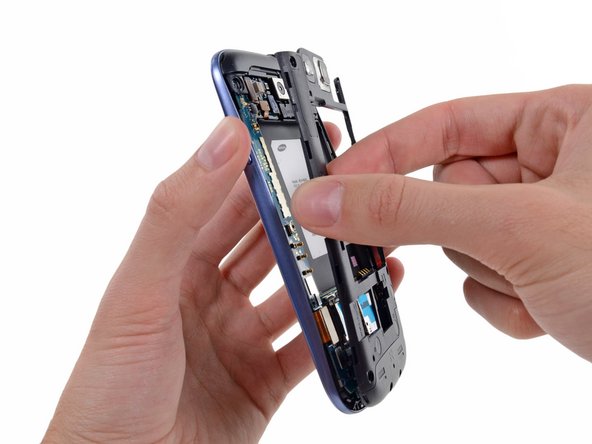
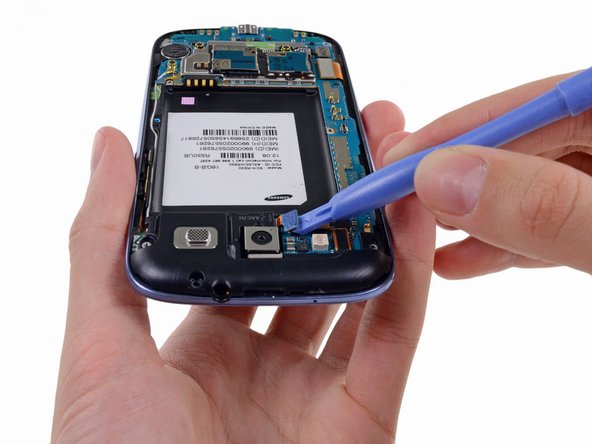
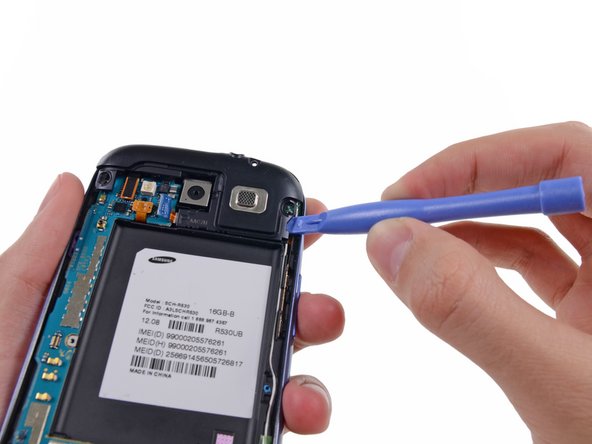
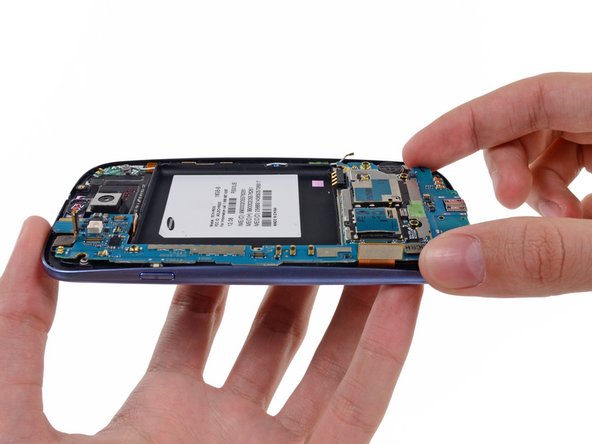
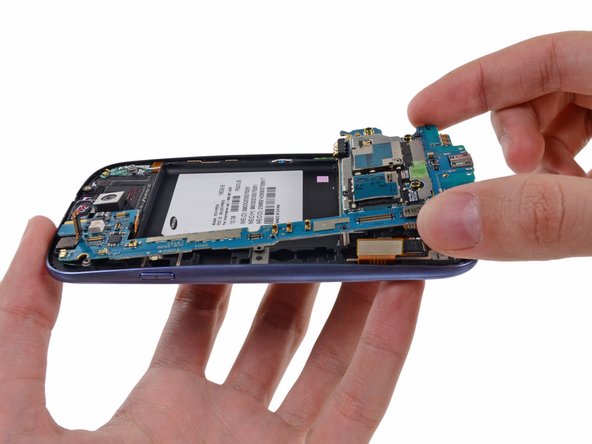
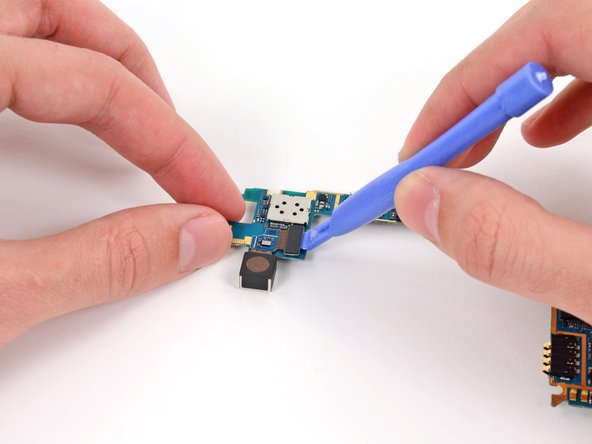
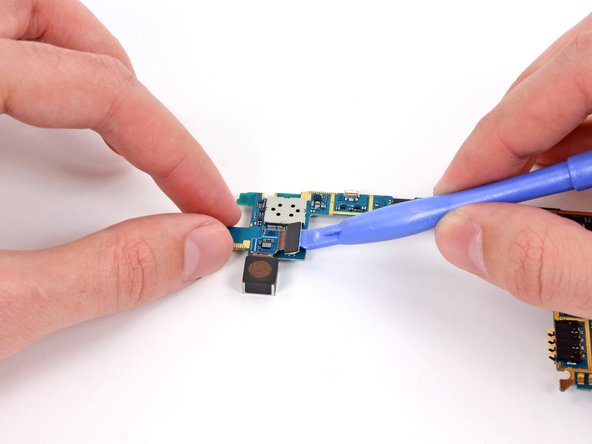
اخر الأخبار

اعلان

حمل القالب من عالم المدون

Friday, 16 October 2015

شرح فك و تغير بوردة موبايل Samsung Galaxy S III

Image 2/2: Insert a plastic opening tool or fingernail into the notch in the gap between the rear case and the rest of the phone, located at the top of the device.
Image 1/2: Slide the plastic opening tool left along the top edge and repeat the twisting motion to widen the gap between the rear case and the phone.
Image 1/2: Continue to move the plastic opening tool around the perimeter of the top left corner, gently prying up along the rear case.
Image 2/2: Continue to move the plastic opening tool around the perimeter of the top left corner, gently prying up along the rear case.
Image 1/2: Pry along the top right side, and continue prying down the right side of the rear case.
Image 2/2: Pry along the top right side, and continue prying down the right side of the rear case.
Image 1/2: Lift up and remove the rear case from the phone.
Image 2/2: You may need to peel the case up to separate it from any clips still holding it to the bottom of the phone.
Image 1/2: This step can be accomplished without the need of a plastic opening tool. Just use your finger if you want to.
Image 2/2: Wedge a plastic opening tool into the small notch above the battery.
Image 1/2: Remove the battery.
Image 2/2: Remove the battery.
Image 1/3: Using your fingernail, push the SIM card slightly deeper into its slot, until you hear a click.
Image 3/3: For reassembly, push the SIM card into the slot until it clicks in place.
Image 3/3: Grasp and remove the SIM card away from the phone.
Image 3/3: For reassembly, push the microSD card into the slot until it clicks in place.
Image 2/2: Remove the microSD card from the phone.
Image 1/1: Remove the ten 4.0 mm Phillips #0 screws securing the midframe to the front panel assembly.
Image 1/2: Grasp the left side of the plastic midframe with your thumb and forefinger and lift it away from the phone.
Image 2/2: The midframe lightly snaps in place, and can be removed with very little force.
Image 1/2: Use a plastic opening tool to pry the rear-facing camera connector up from its socket on the motherboard.
Image 2/2: Make sure you are prying on the connector and not the socket, or you may damage the motherboard.
Image 1/2: Insert a plastic opening tool outboard of the speaker portion of the headphone jack/speaker assembly.
Image 2/2: Gently pry the headphone jack/speaker assembly up from the front assembly.
Image 1/1: Lift the headphone jack/speaker assembly out of the Galaxy S III.
Image 1/1: Use a plastic opening tool to pry the front-facing camera connector from its socket on the motherboard.
Image 1/2: Disconnect the digitizer cable by gently prying its connector up from its socket on the motherboard.
Image 2/2: Disconnect the digitizer cable by gently prying its connector up from its socket on the motherboard.
Image 1/2: Disconnect the display data cable from the motherboard.
Image 2/2: Disconnect the display data cable from the motherboard.
Image 1/3: Pry the Wi-Fi antenna cable connector up from its socket on the motherboard.
Image 2/3: Gently move the cable out of the way of the  motherboard.
Image 3/3: Gently move the cable out of the way of the  motherboard.
Image 1/1: Remove the single 3.0 mm Phillips #0 screw securing the motherboard to the front panel assembly.
Image 1/2: Carefully lift the bottom of the motherboard assembly away from the front panel assembly.
Image 2/2: Remove the motherboard assembly from the front panel assembly, minding any cables that may snag on it.
Image 1/2: Flip the motherboard over. We recommend setting it on a grounded work surface.
Image 2/2: Use a plastic opening tool to pry the rear-facing camera connector from its socket.
Image 1/1: Remove the rear-facing camera off the motherboard.
Image 1/1: The motherboard remains.

hubk

حمل القالب من عالم المدون